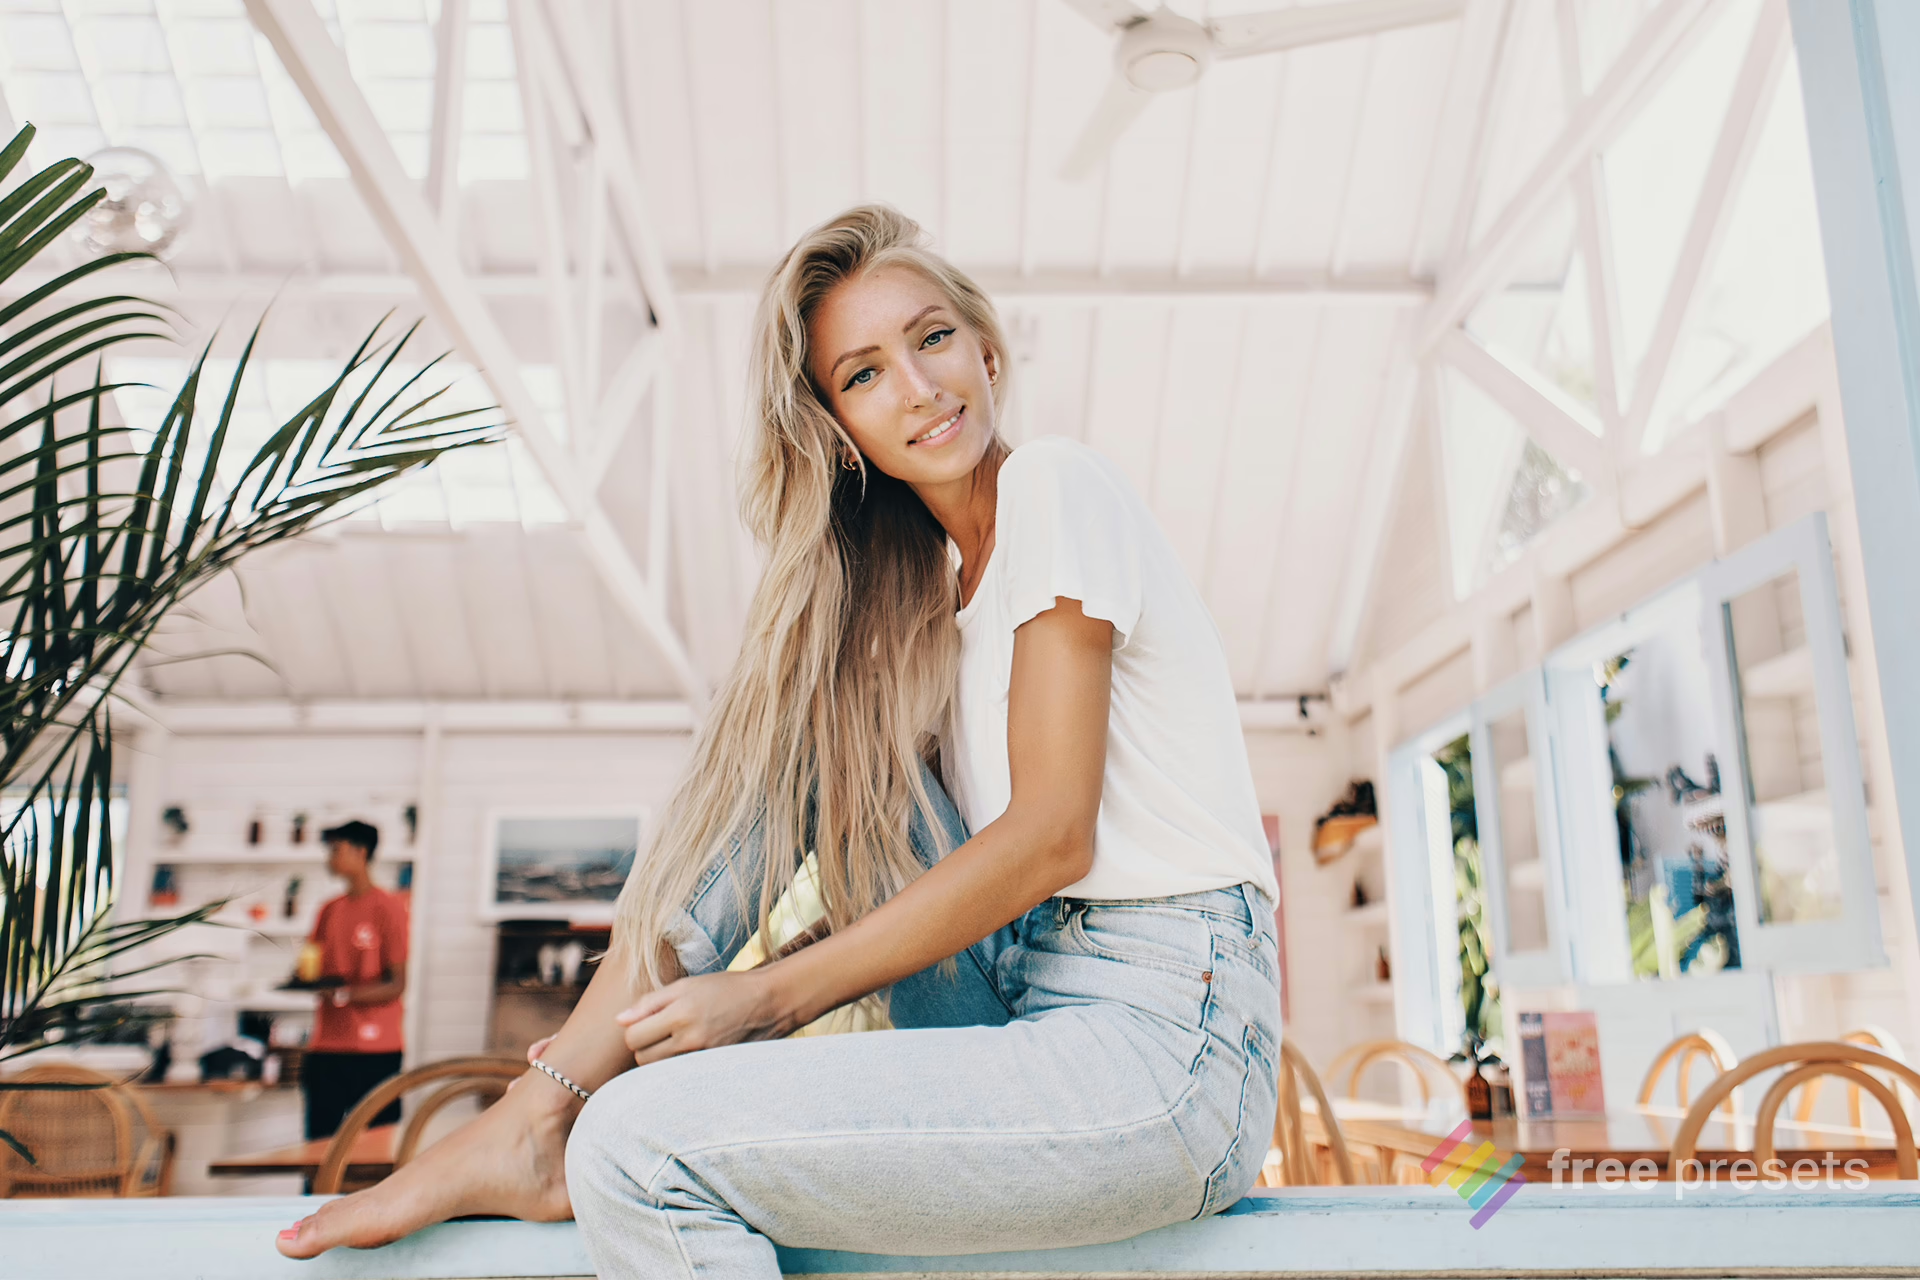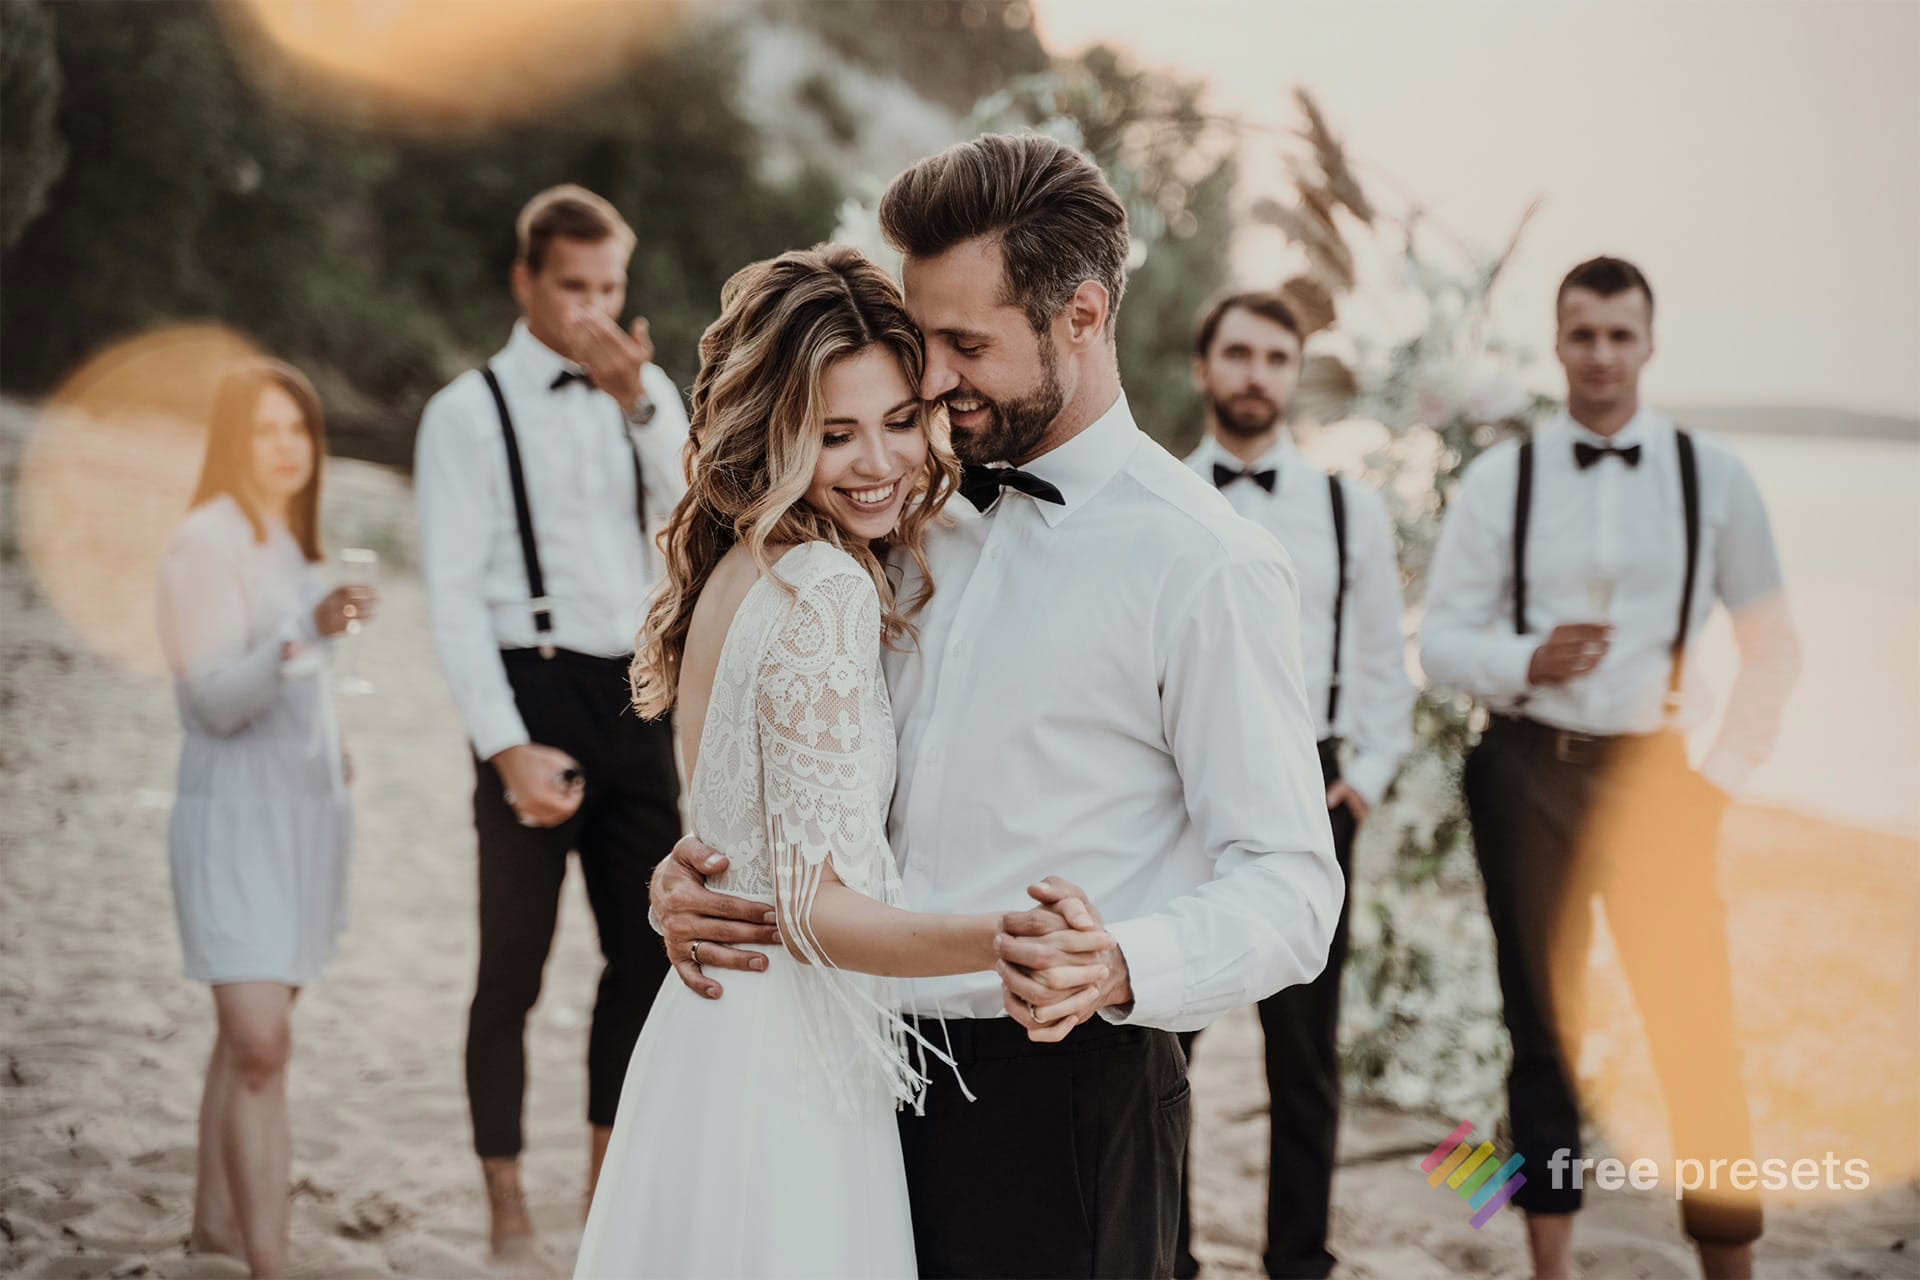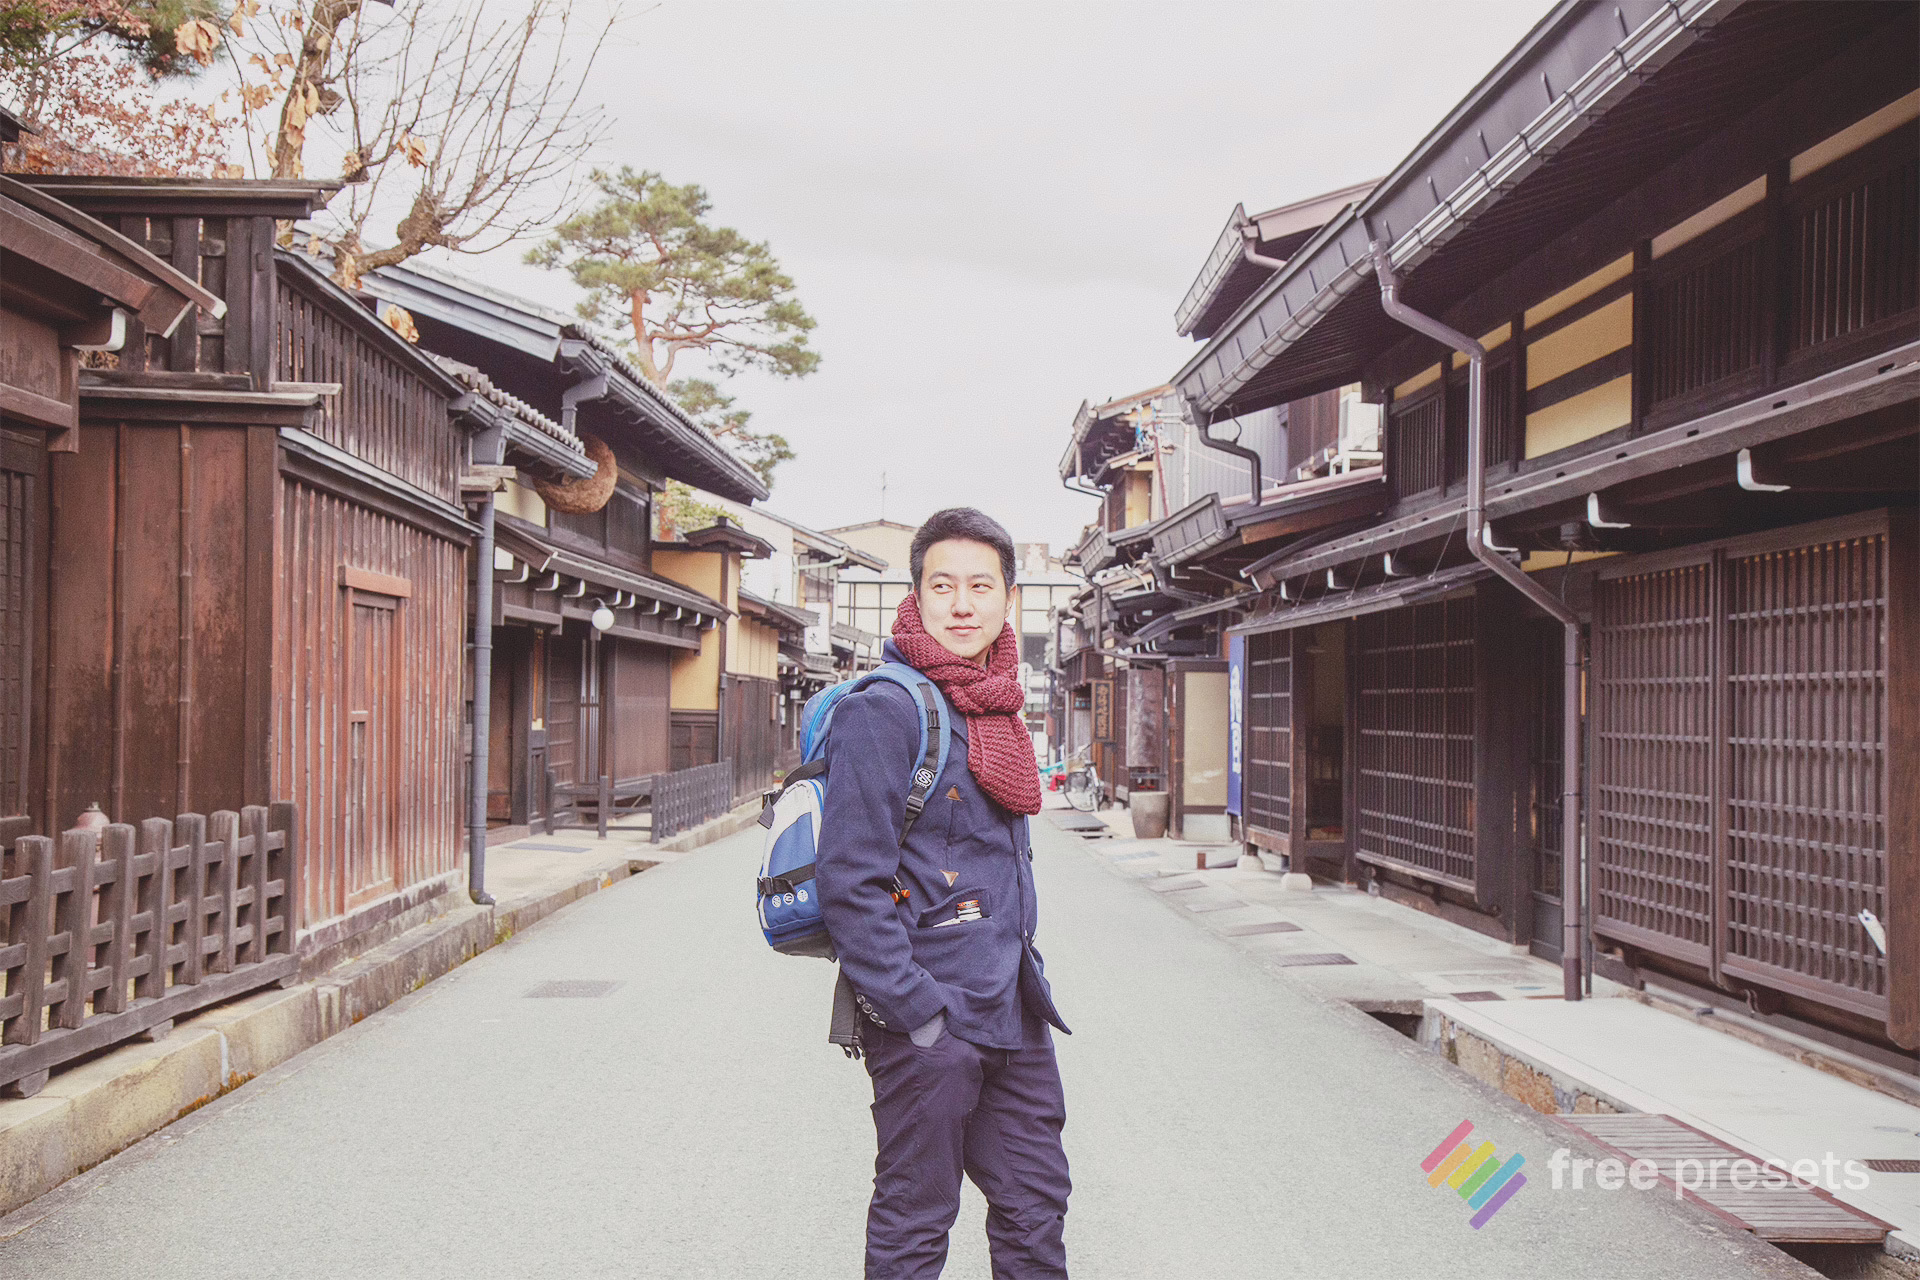
Mayfair gives photos a bright, cheerful look. It often overexposes the image, making highlights look flat. This filter works best when you want to lighten shadows, such as in photos with both indoor and outdoor areas, or when the main subject is in a shaded or dark spot. Mayfair is great for brightening up these darker areas and making your overall photo look more positive.
This preset is part of the 2010s Instagram aesthetic project where I recreate the look of retro Instagram filters.


Color Grading
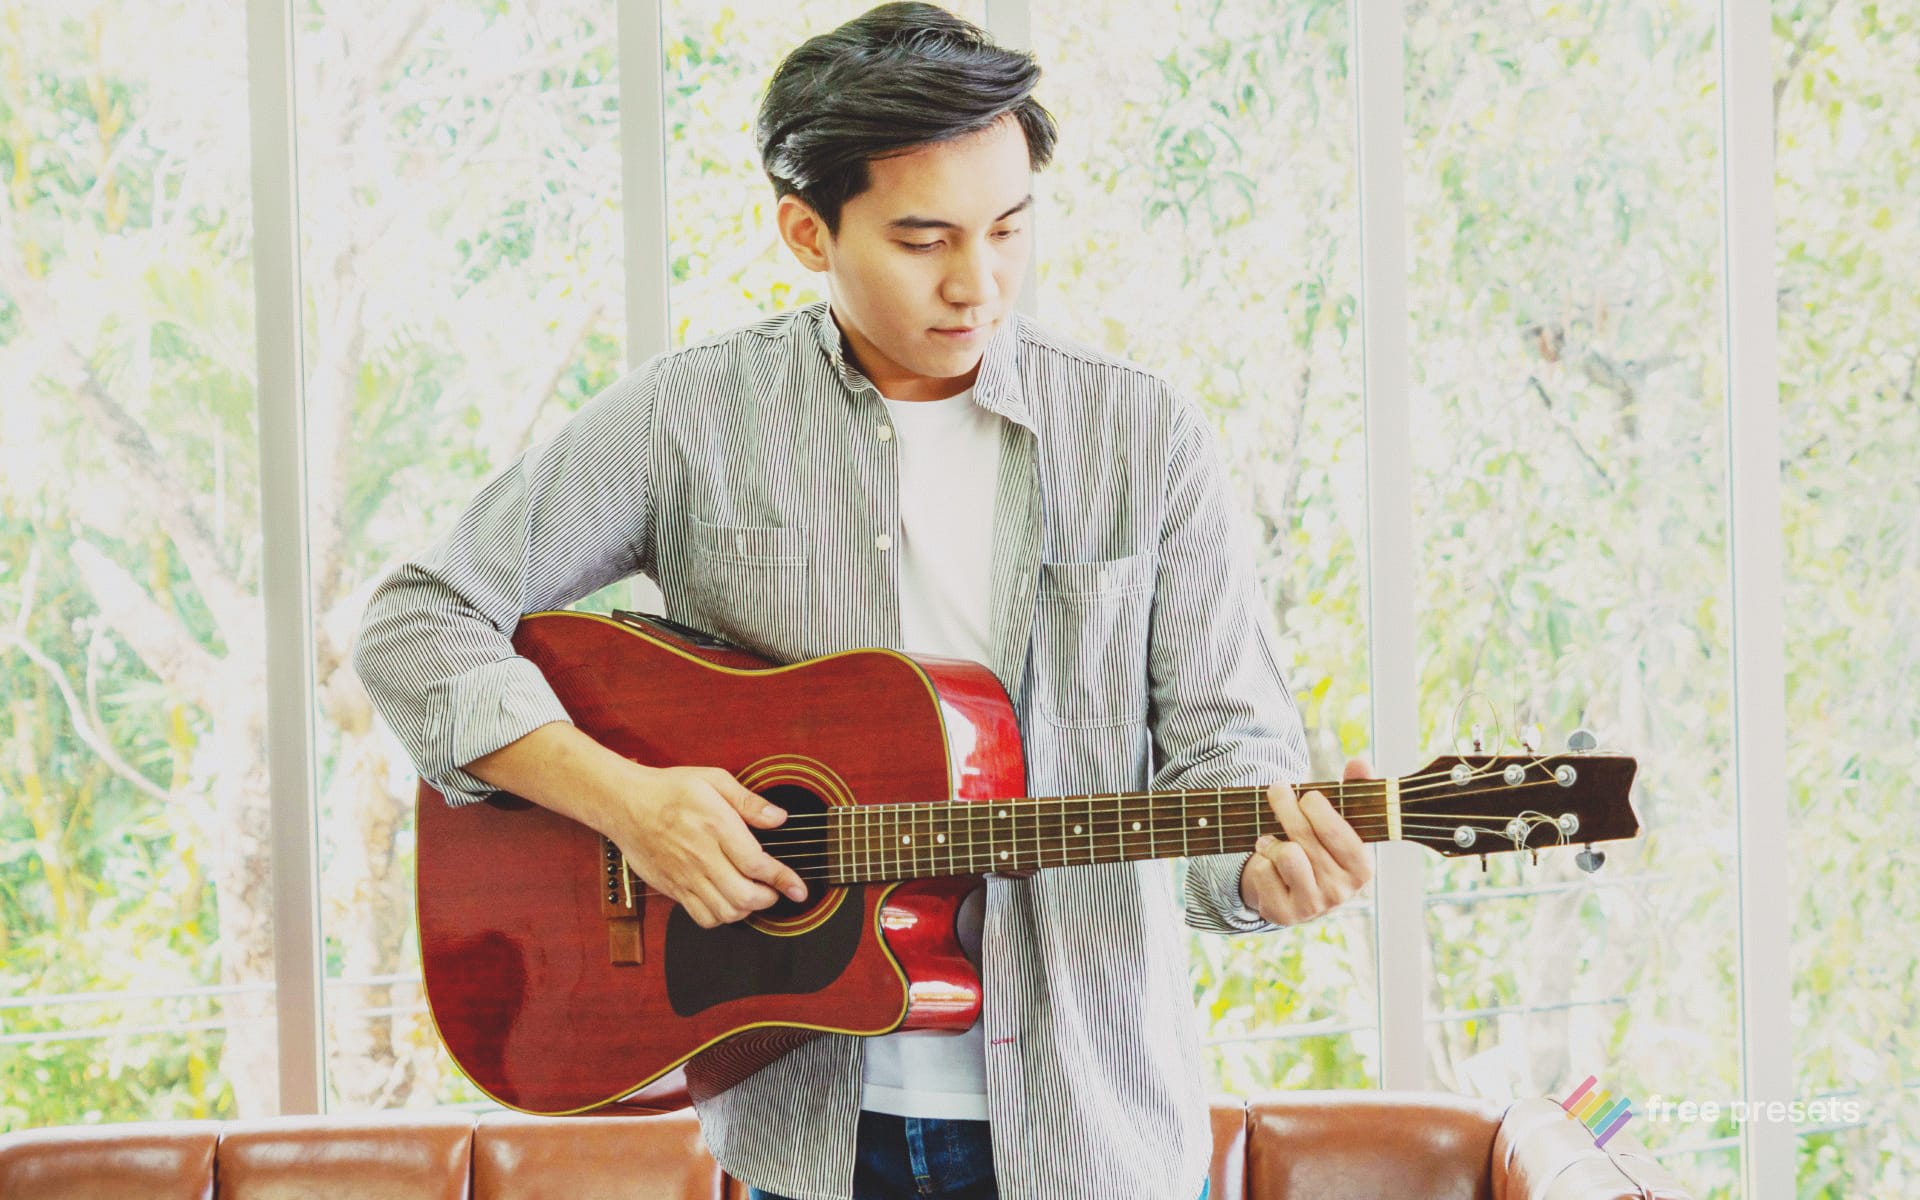
This preset tends to overexpose photos, but the highlights are flat, which helps keep things balanced. It creates a high-key look. You won’t see big color changes in the photo below. That’s because, during the 2010s, app filters often adjusted the contrast or tone of the RGB channels. This method was faster and worked better on slow phone hardware back then. When you make filters by adjusting RGB channels, you don’t get much color shifting; instead, the filter’s style comes from tinting different tonal ranges.
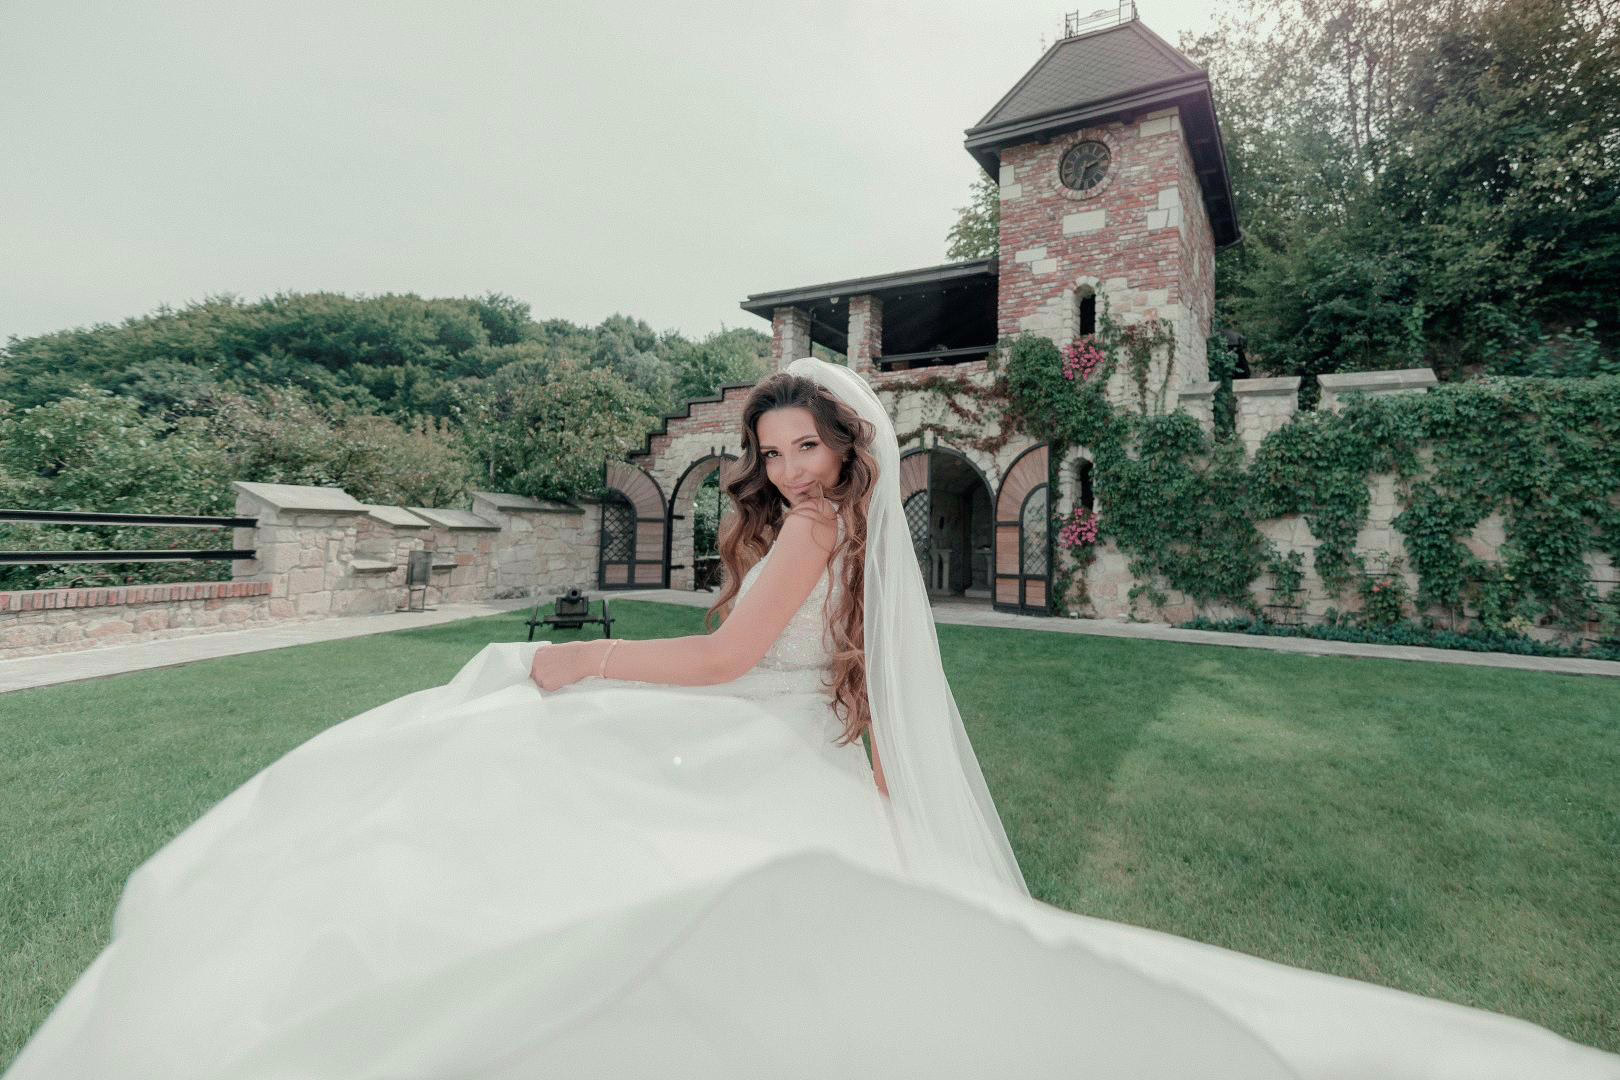
Skin Tone Protection
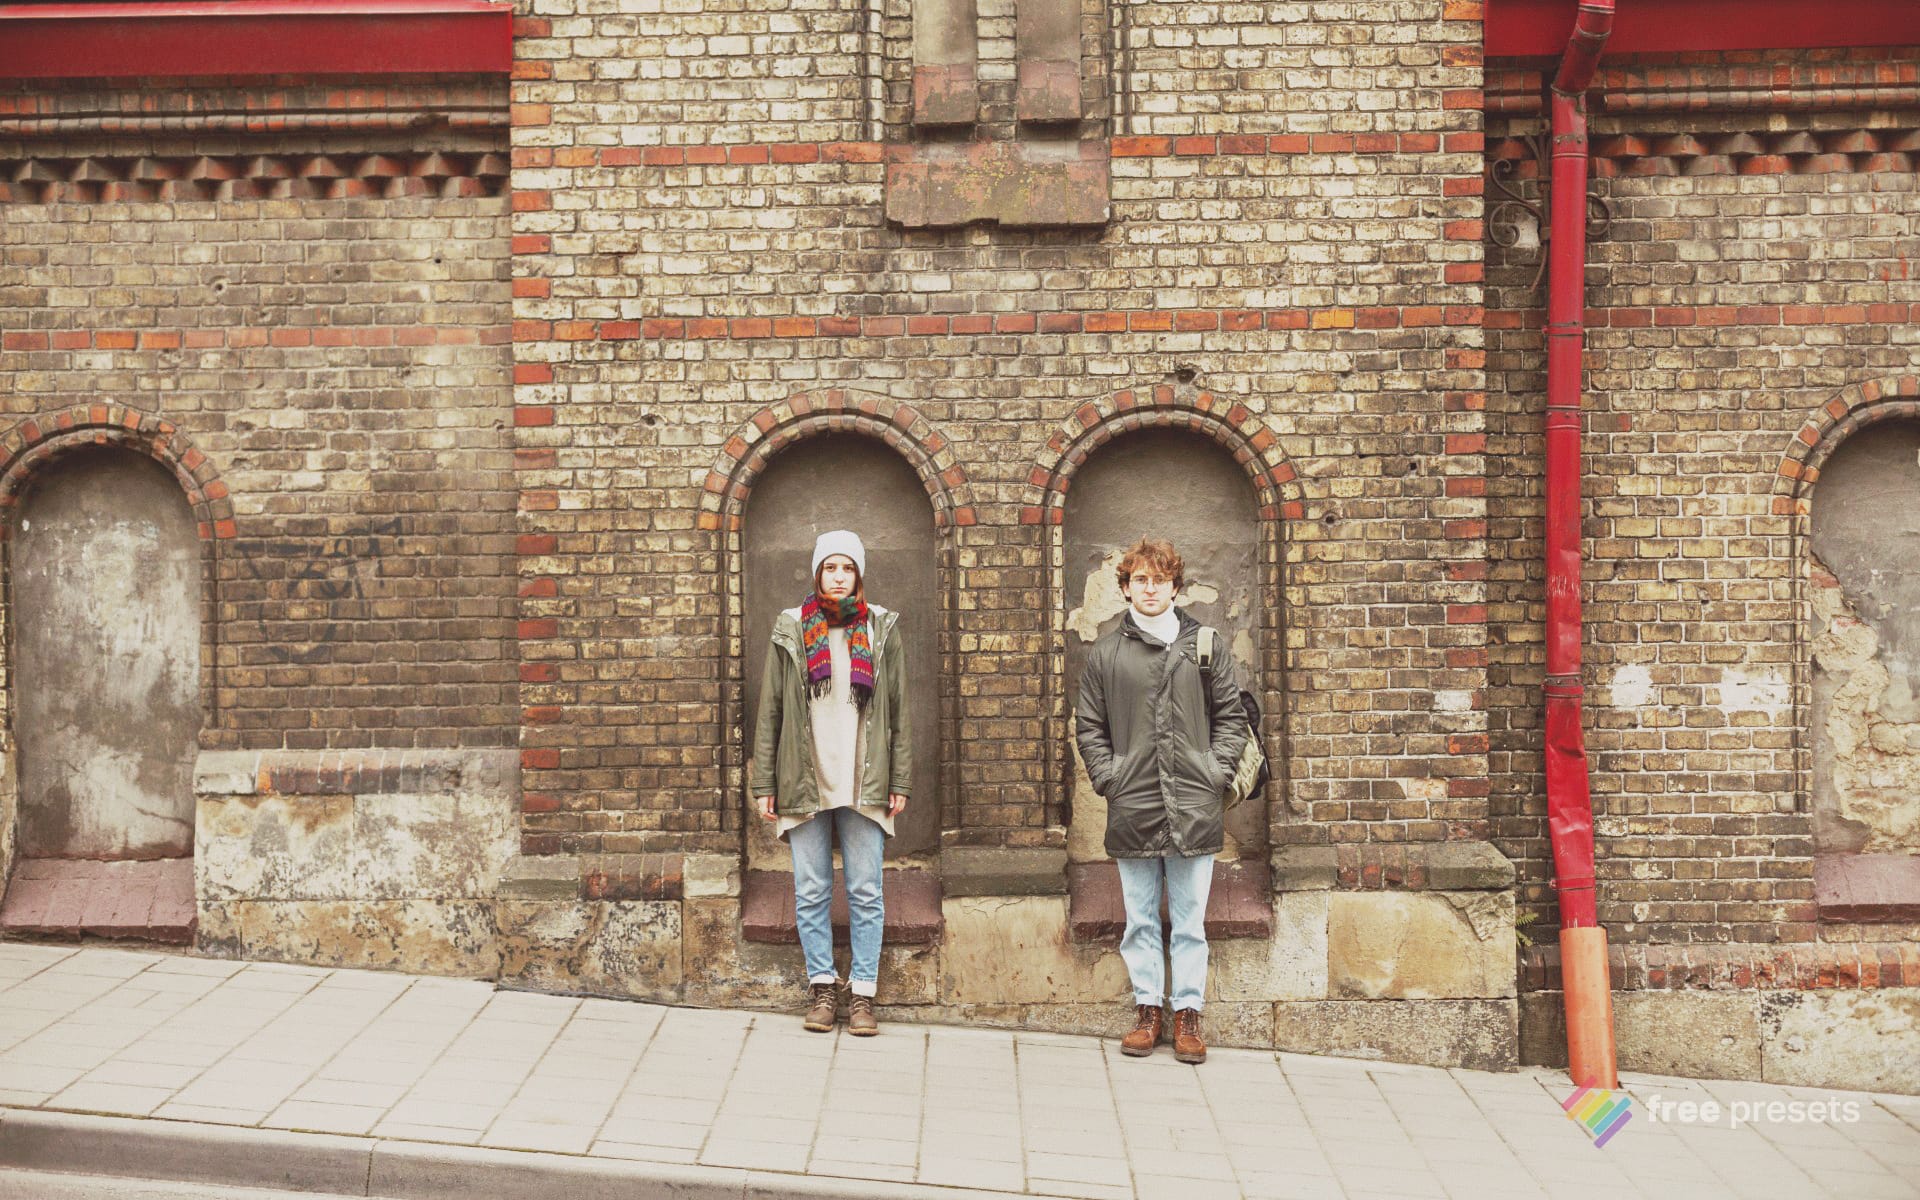
In the free download, you’ll receive the standard Mayfair preset. If you are a Pro member, you will receive an additional Lightroom Preset with skin tone protection. This preset uses VOXCOLOR’s Skin Tone Protection algorithm to restore the original skin tones, making it ideal for portraits.